 In the first image, numbers 1 through6, the designs are done in torn paper. In the second image, the designs are done in paper that is folded and worn away by rubbing on fine sandpaper (8, 11, 17, 18), stabbed (12), bitten (9), dampened and rubbed with fingertips (7,13), crumpled, straightened out, re-crumpled (15), folded and cut (16).
 Here (images 1, 3, 4, 5, 6, ) the design is disintegrated with scissors (cut). Images (2, 7, 8, 9,12, 13, 15), the design is frayed or cut and frayed, cut so that the actual design all but disappears, and (11), the images is formed from waste threads, and trimmed to shape.

 These images show disintegration through size, becoming increasingly smaller until the last in that series is stitched in cross stitch with ribbon.
Images 5 through 16 are done with stitch (except for #8, which is needle felted). The stitched designs are increasingly disintegrated with heavier or denser stitching.
#17 is a combination.... it is the negative of #3, with the centre of the design stitched in ribbon
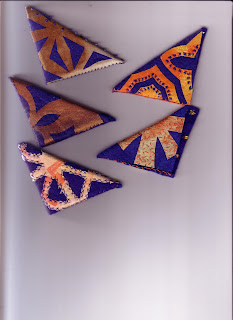
Below is the paper mock up for the resolved piece. Each is 3 1/2" square. In the stitched pieces, the disintegration is different for each... stitched in different ways, beaded, layered netting. The insides are studded with star shaped sequins. The pieces will now be mounted and form a star themselves, as "Pockets for Fallen Stars". Once this is done, I will photograph the unit and display it on this blog.


No comments:
Post a Comment